How to Hold a Violin and Bow: A Beginner’s Guide
September 25, 2026
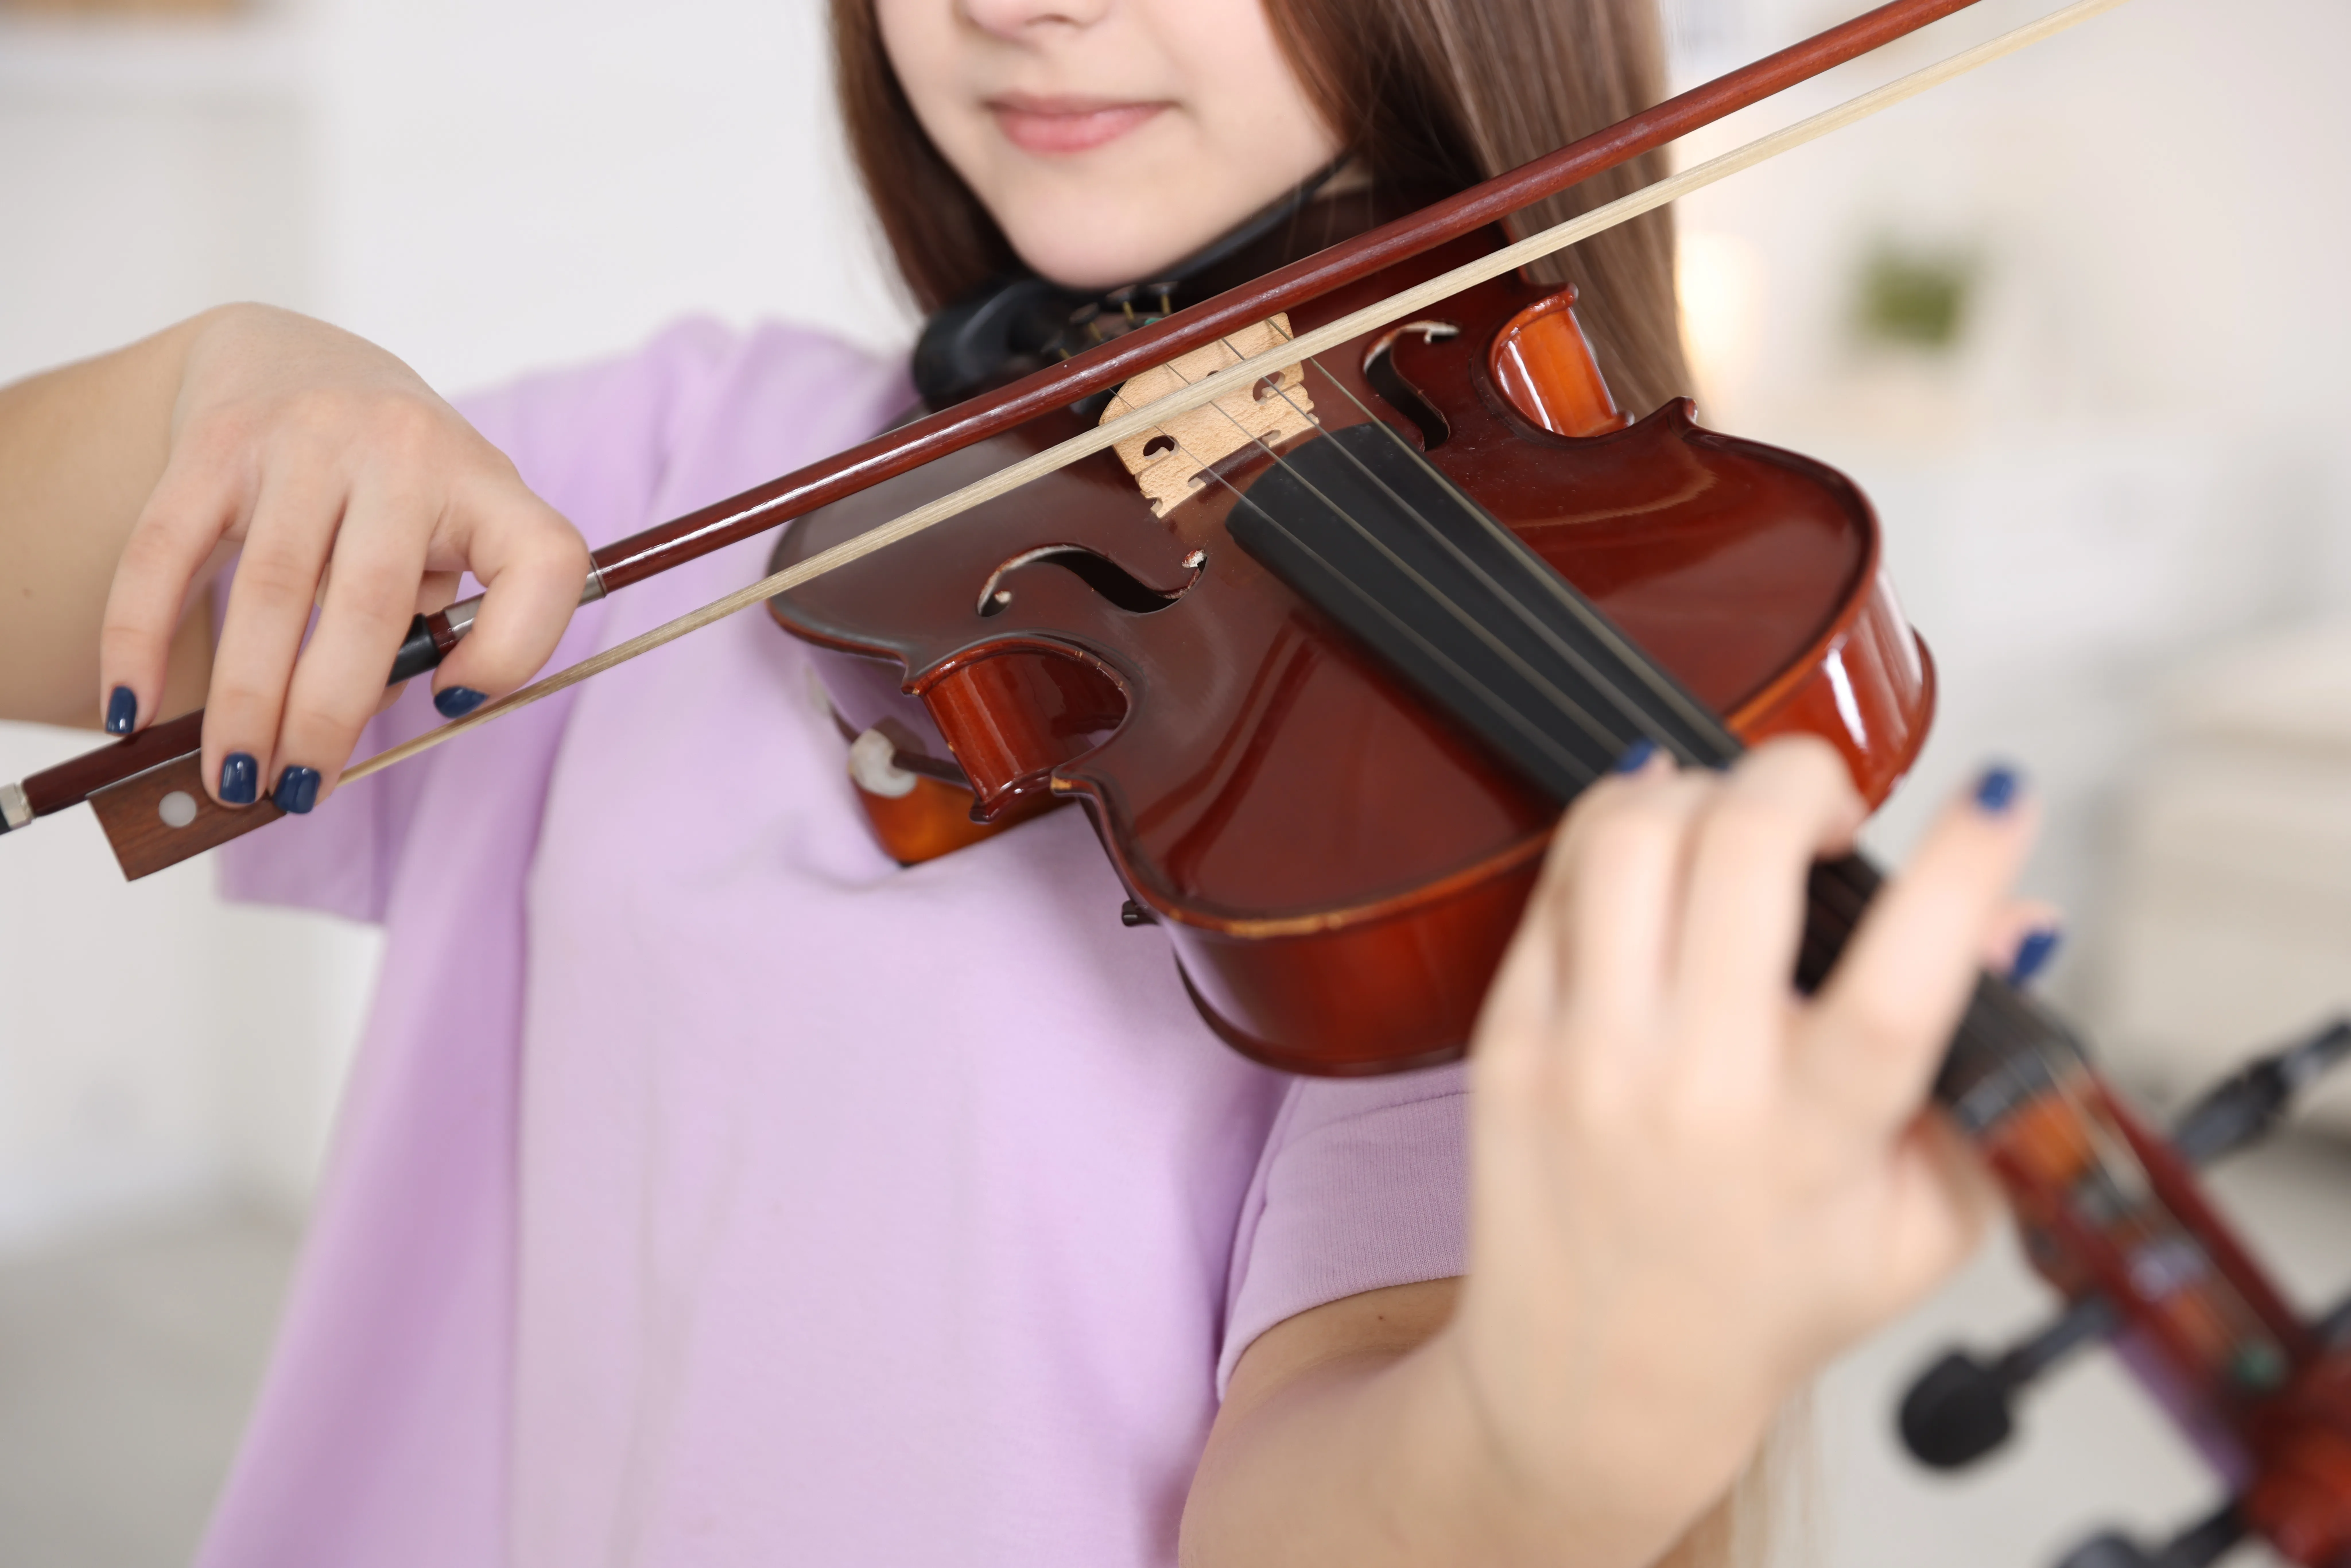
Learning how to hold a violin starts with a comfortable setup. Bring the instrument to your left shoulder and collarbone, rest your jaw lightly on the chinrest, and keep your left hand free to move. The bow goes in your right hand, with a curved thumb and flexible fingers.
Work through the two holds separately at first. If you're helping a child practise, you can use these steps to revisit the setup together and identify anything that feels awkward.
Start With a Comfortable Violin Posture
Stand with your feet comfortably apart, keeping your knees and shoulders relaxed. Let your head sit naturally above your body. When sitting, choose a chair that lets your feet rest flat on the floor, and sit towards the front with your upper body balanced.
Take a moment to notice how that feels without the violin. Once you raise it, aim to keep the same sense of ease. A position that looks tidy but feels stiff needs another look.
How to Hold a Violin
Leave the bow aside while you place the instrument:
- Lift the violin with your left hand around the neck. Bring it to the left shoulder and collarbone area.
- Settle your head. Turn slightly left and let your jaw rest gently on the chinrest. Despite its name, this is where the side of the jaw makes contact.
- Check the starting position. Keep the instrument roughly level, and your shoulders relaxed. Avoid reaching your head down towards the violin or raising your shoulder to meet it.
Your support setup should suit you. A shoulder rest fits beneath the violin; the chinrest is on top, under your jaw. If you use a shoulder rest, its position and height need to work with your body. Copying another player's settings may leave you uncomfortable.
If you keep shrugging or gripping to feel secure, put the violin down and ask your teacher to check the fit of the instrument, chinrest, and shoulder support together.
Keep Your Left Hand Ready to Move
Let the violin neck make light contact around your thumb and the base of your index finger. Keep the thumb relaxed rather than squeezing the neck between the thumb and index finger. All four fingers need room to reach the strings.
Curve your fingers over the fingerboard, ready to meet the strings with their tips. Keep your wrist broadly in line with your forearm, with space between your palm and the neck. Let the elbow hang freely beneath the instrument. Keep your hand free to move as you follow these cues, without freezing your wrist or elbow into position.
Watch for a palm pressed up against the neck or a thumb that starts gripping as a finger goes down. Pause and reset the hand gently. Your hand should stay relaxed enough to move along the fingerboard, as described in the University of Texas at Austin String Project’s posture guidance
How to Hold a Violin Bow
Practise this hold with the violin put down. Support the bow's stick with your left hand while you arrange your right hand. Find the frog, the block at the end where you hold the bow.
Let your right hand hang loosely for a moment. Notice the gentle curve of the fingers and the spaces between them. Bring that relaxed shape to the bow, then build this common beginner hold:
- Thumb: Bend it softly and place its tip against the exposed stick between the grip and the frog.
- Middle finger: Curve it over the stick, opposite the thumb.
- Ring finger: Let it drape over the stick beside the middle finger.
- Index finger: Rest it on the stick between the first and second joints, counting from the fingertip.
- Little finger: Place the fingertip on top of the stick, keeping the finger curved.
Keep the spacing close to your hand’s natural relaxed position, and avoid locking any of the finger joints, as shown in this beginner bow-hold guidance. If the thumb straightens rigidly or the fingers clamp down, support the bow again with your left hand and rebuild the shape.
A violin bow hold needs to remain flexible as the bow moves. Your teacher can refine the contact points for your hand.
Make the Setup Part of Your Practice
Revisit your hold each time you start playing. After setting up, try a short passage you already know and notice what changes: does your shoulder rise, does your left hand grip, or does your bow thumb stiffen? Choose one observation to work on during the next attempt.
For parents, one clear cue can keep the conversation manageable: “Let's set your hand again” or “How does that feel now?” Give your child time to try it. If the same difficulty returns, make a note to show the teacher rather than adding more instructions at home. Take a break when the setup becomes tiring or uncomfortable.
Get feedback on your violin setup
A teacher can help you adjust your violin setup and bow hold so they feel comfortable and allow you to move freely. C&K Music Studio's violin and viola courses include a focus on posture and sound production. Explore our Musical Instruments Courses to learn about violin instruction and enquire about lessons for a beginner in your family.